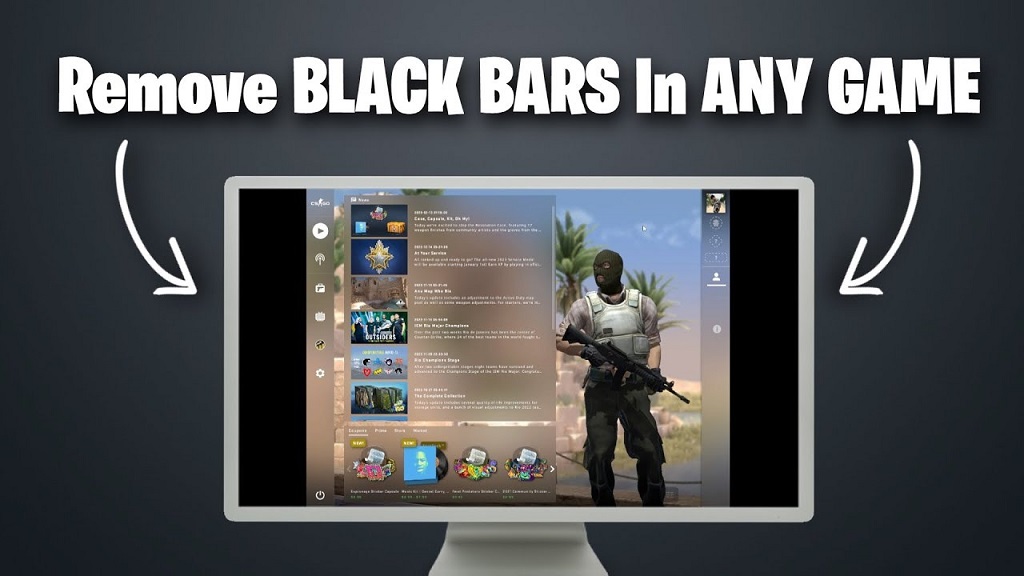
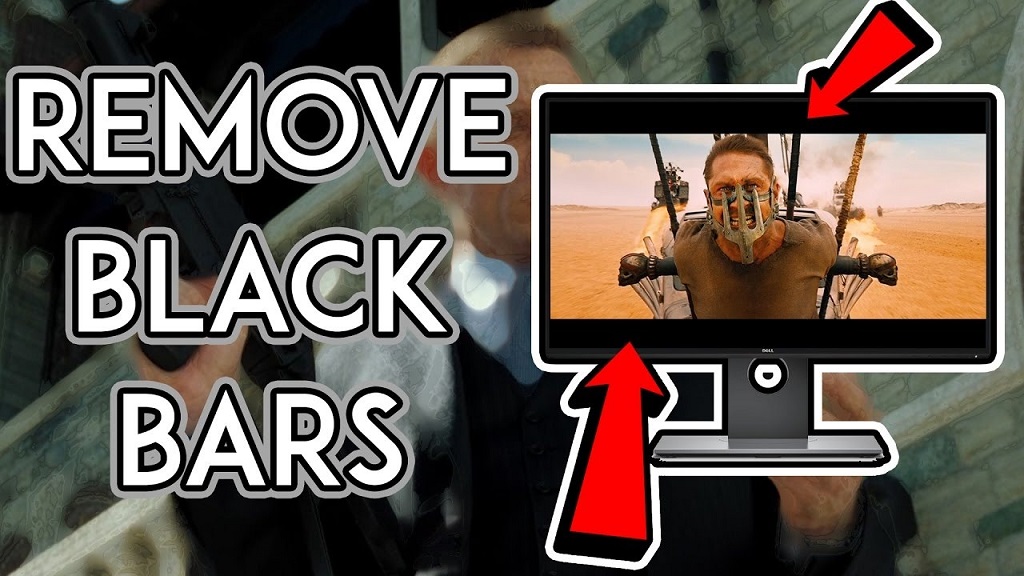
Imagine settling down for an immersive gaming session or diving into a critical work project, only to be distracted by an annoying black border framing your monitor’s display. These pesky black bars, often called letterboxes or bezels, can shrink your usable screen space and disrupt your experience. If you’ve been wondering how to remove black border on monitor, you’re not alone. This issue is common across various setups, from gaming rigs to office workstations, and can stem from multiple causes like incorrect resolution settings, outdated drivers, or hardware limitations. In this detailed guide, we’ll walk you through the step-by-step process to eliminate those black borders, optimize your display, and reclaim your full screen real estate. Whether you’re a tech novice or a seasoned user, this article will provide actionable solutions to enhance your monitor’s performance.
Understanding Why Black Borders Appear on Your Monitor
Before diving into solutions, it’s helpful to understand why black borders appear. These borders, sometimes referred to as black bars or letterboxing, occur when the display output doesn’t fully utilize the monitor’s screen. Common causes include:
- Incorrect Resolution Settings: If your monitor’s resolution doesn’t match its native resolution, the display may not fill the screen, resulting in black bars.
- Aspect Ratio Mismatch: A mismatch between the content’s aspect ratio (e.g., 4:3) and your monitor’s aspect ratio (e.g., 16:9) can cause borders.
- Graphics Driver Issues: Outdated or misconfigured graphics drivers may fail to scale the display properly.
- Monitor Settings: Some monitors have built-in scaling or overscan settings that create borders.
- Software or Game Settings: Certain applications or games may default to a non-native resolution or aspect ratio.
- Hardware Limitations: Older monitors or cables (like VGA) may not support full-screen output for modern resolutions.
By identifying the root cause, you can apply the most effective fix. Let’s explore the solutions step by step.
Step-by-Step Solutions to Remove Black Borders on Your Monitor

-
Check and Adjust Your Display Resolution
The first step to eliminate black borders is ensuring your monitor is set to its native resolution—the resolution at which the monitor is designed to perform optimally. Here’s how to do it:
- On Windows:
- Right-click on your desktop and select Display Settings.
- Scroll to Display Resolution and choose the recommended resolution (usually marked as “Recommended”).
- Click Apply. If the black borders disappear, you’re set. If not, proceed to the next steps.
- On macOS:
- Click the Apple menu and select System Settings (or System Preferences on older versions).
- Go to Displays and select the native resolution for your monitor (check your monitor’s manual or specs for the exact value).
- Save changes and check if the borders are gone.
Tip: If you’re unsure about your monitor’s native resolution, check the manufacturer’s website or the monitor’s manual. Common resolutions include 1920×1080 (Full HD), 2560×1440 (QHD), or 3840×2160 (4K).
-
Adjust Aspect Ratio and Scaling Settings
If the resolution is correct but black bars persist, the issue might be an aspect ratio mismatch or improper scaling. Here’s how to fix it:
- Graphics Control Panel (NVIDIA, AMD, Intel):
- NVIDIA: Right-click the desktop, select NVIDIA Control Panel, and go to Display > Adjust Desktop Size and Position. Choose Scale on GPU, select Full-screen, and apply.
- AMD: Open AMD Radeon Software, navigate to Display, and enable GPU Scaling. Set scaling mode to Full Panel.
- Intel: Access Intel Graphics Settings, go to Display > Scaling, and select Maintain Display Scaling or Full Screen.
- Monitor Settings: Many monitors have built-in menus to adjust scaling or aspect ratio. Press the physical buttons on your monitor to access the OSD (On-Screen Display) menu. Look for options like Aspect Ratio, Overscan, or 1:1 Pixel Mapping and set them to Full Screen or Native.
-
Update Graphics Drivers
Outdated or corrupted graphics drivers can cause display issues, including black borders. To update your drivers:
- Identify Your Graphics Card:
- On Windows, press Win + R, type dxdiag, and check the Display tab for your GPU model (e.g., NVIDIA GeForce, AMD Radeon, or Intel HD Graphics).
- Download the Latest Drivers:
- Visit the manufacturer’s website (NVIDIA, AMD, or Intel) and download the latest driver for your GPU model.
- Alternatively, use tools like GeForce Experience (NVIDIA) or AMD Auto-Detect to simplify the process.
- Install and Restart:
- Follow the installation prompts, restart your computer, and check if the black borders are resolved.
-
Adjust Game or Application Settings
If black borders appear only in specific games or applications, the issue lies in their display settings. Here’s what to do:
- Open the game or application’s settings menu.
- Navigate to Graphics or Display settings.
- Set the resolution to match your monitor’s native resolution and select Full Screen mode (avoid Windowed or Borderless Windowed modes).
- If available, enable Maintain Aspect Ratio or Stretch to Full Screen.
Pro Tip: For games on platforms like Steam, right-click the game in your library, select Properties, and add launch options like -w 1920 -h 1080 to force the correct resolution.
-
Check Your Cable and Connection
Older cables like VGA or low-quality HDMI cables may not support high resolutions, leading to black borders. To rule this out:
- Use a high-quality HDMI, DisplayPort, or DVI cable compatible with your monitor’s maximum resolution.
- Ensure connections are secure and free of dust or damage.
- If using an adapter (e.g., HDMI-to-VGA), ensure it supports the desired resolution.
-
Disable Overscan on External Devices
If your monitor is connected to a device like a gaming console or media player, overscan might be enabled, causing black borders. Check the device’s display settings and disable overscan, or set the output to Just Scan or 1:1 Pixel Mapping.
-
Test with Another Monitor or Device
If none of the above solutions work, test your setup with another monitor or device to isolate the issue. If the black borders disappear on a different monitor, your original monitor may have hardware limitations or require repair.
Additional Tips to Prevent Black Borders
- Keep Software Updated: Regularly update your operating system, graphics drivers, and applications to avoid compatibility issues.
- Use Display Calibration Tools: Tools like Windows Display Calibration or third-party software can fine-tune your monitor’s output.
- Check for Firmware Updates: Some monitors have firmware updates that address display issues. Visit the manufacturer’s website for details.
- Avoid Auto-Adjust on Older Monitors: Older monitors may have an Auto-Adjust feature that misconfigures the display. Manually set the resolution and aspect ratio instead.
When to Seek Professional Help
If you’ve tried all the steps above and the black borders persist, it could indicate a hardware issue with your monitor or GPU. Contact the manufacturer’s support team or a professional technician for further diagnosis. Be prepared to provide details about your setup, including the monitor model, GPU, and connection type.
Related Topic:Real Skateboards Price Guide
Conclusion: Enjoy a Border-Free Display
Eliminating black borders on your monitor can significantly enhance your viewing experience, whether you’re gaming, working, or streaming. By following the steps outlined—adjusting resolution, tweaking graphics settings, updating drivers, and checking hardware—you can resolve most issues and enjoy a full-screen display. If you found this guide helpful, share it with others facing similar issues or leave a comment below with your experience. For more tech tips and troubleshooting guides, subscribe to our blog and stay updated on optimizing your digital setup!


